albtechportal

  • Subscribe to our RSS feed.
  • Twitter
  • StumbleUpon
  • Reddit
  • Facebook
  • Digg
Showing posts with label IT. Show all posts

Wednesday, 9 October 2013

How To Terminate Fiber Optic Cable Using AFL Fast Connectors

Posted on 02:46 by Unknown
This is an introduction to the most commonly installed Fiber Optic Cable – 62.5 Multimode fiber, using AFL Fast SC or LC connectors. This new style 2009 Fast connector has cut the cost of labor and time in the field up to 90% compared to termination styles from 10 years ago.

Items Needed:
AFL Fast Connectors
Fiber Stripper
Fiber Cleaver
Fiber Wipes
Kevlar Scissors

Warning: Always wear protective eyewear when terminating optical fibers. Dispose of cut or cleaved ends properly.

Let’s Get Started:
First, you’ll want to cut the outside jacket off the fiber optic cable, maybe about 18 inches from the end. Electrician snips will be fine with most types of fiber optic cable. You may or may not need to cut the kevlar depending on what style fiber connector your using. Since were using AFL Fast connectors, we’ll cut the kevlar down.

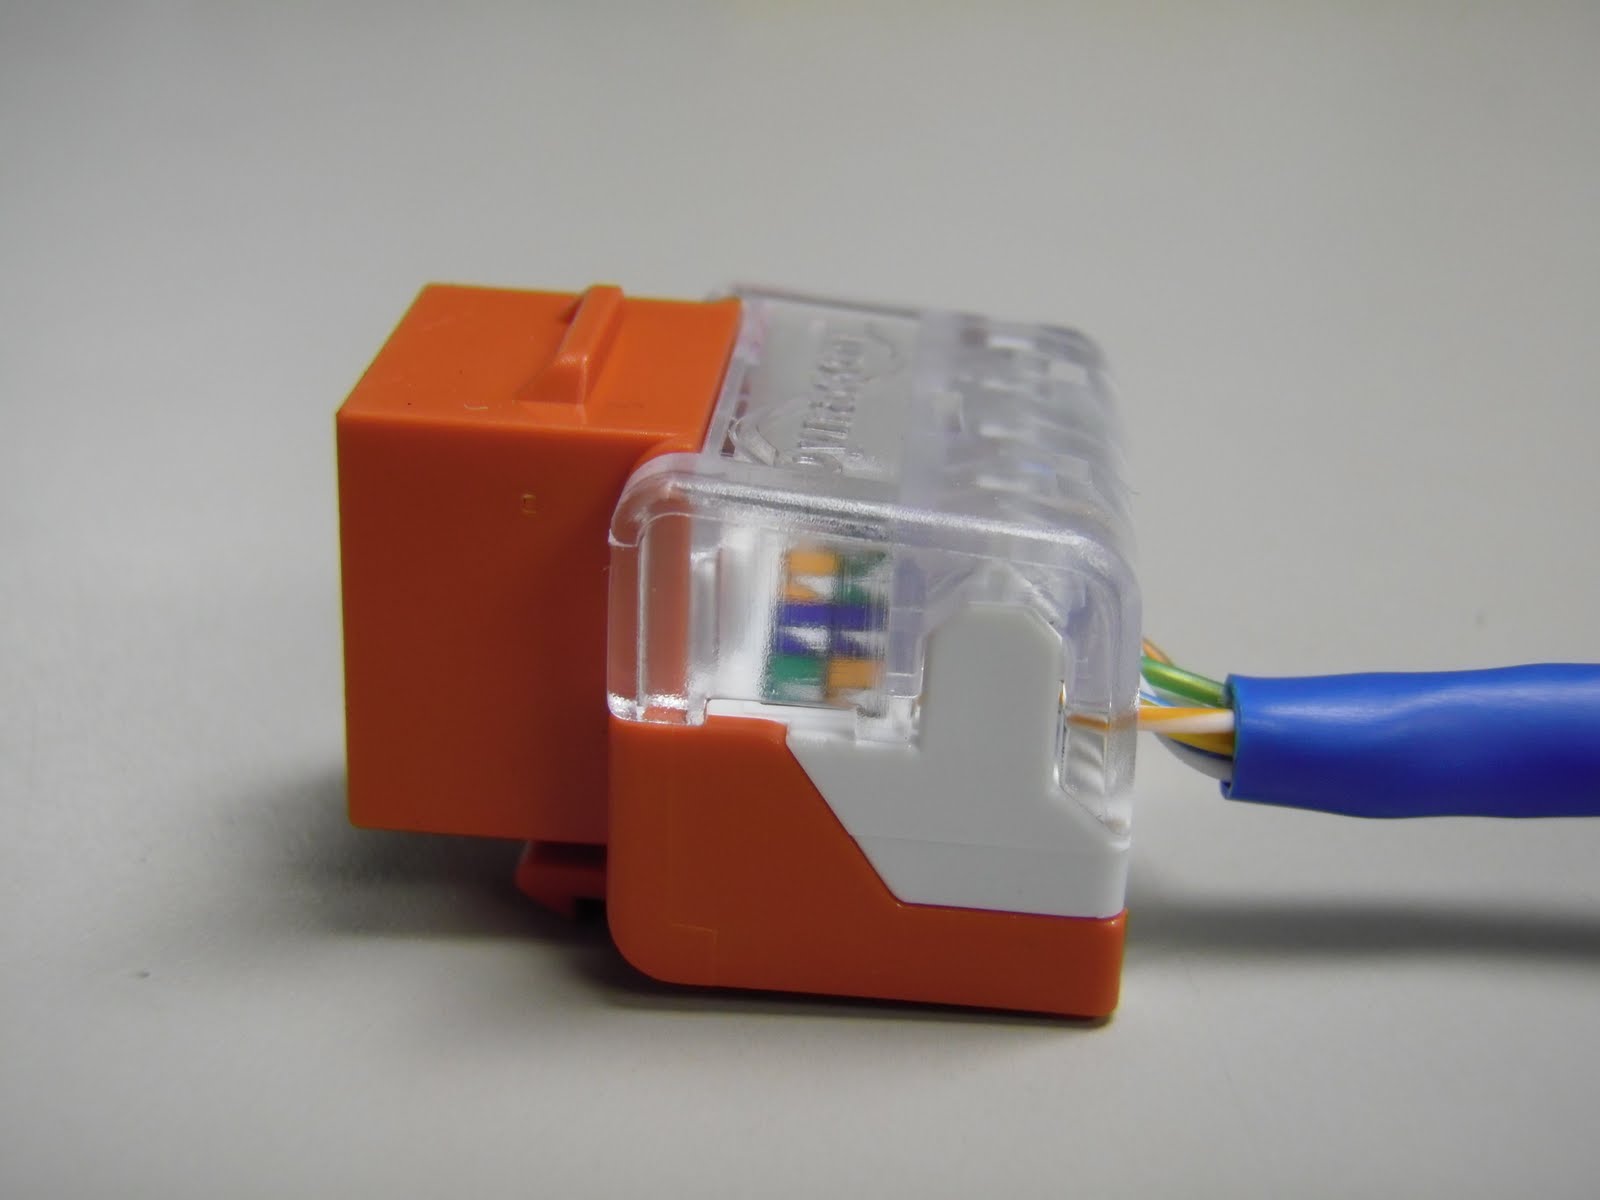
If your using a 250μm buffered fiber, you’ll then slid the boot over the fiber strand, small end first.

Then strip the buffer coating off the individual strands with a fiber optic stripping tool. Be sure to leave more fiber than the finished cleave length. It is recommended that the stripped fiber be cleaned with an alcohol wipe before cleaving to remove any dust or debris.

Check the fiber for integrity by bending the stripped end of the fiber slightly. This insures that you have not damaged it during the stripping step.

Now we need to cut the fiber to length using a cleaver. A cleaver is a specially designed tool that makes a controlled break in the glass. It also cuts it to the exact length you need. The cleave length will vary depending on what size coating of buffer your using. Since were using a 250μmwe need to cleave the connector at 10mm (the cleave length is 10.5mm for ST connectors).


Once we have the fiber cleaved, we need to carefully insert the fiber into the connector. Press the wedge into the connector to open it.


Once it is inside, apply slight force on the fiber into the connector. This will insure the prepared fiber is against the internal pre polished fiber inside the connector.


Maintaining slight force on the fiber, release the wedge unit by squeezing it from the side until the wedge pulls out of the connector body. Slide the locking piece from the bottom of the wedge unit and remove the wedge from the connector assembly. Slide the boot up and engage it over the rear of the connector body. Apply the connector housing onto the assembly from the front.

Your DONE!

Read More
Posted in Cabling, Fiber Optic, IT, Tutorials | No comments

How To Punch Down Cat5e/Cat6 Keystone Jacks

Posted on 02:42 by Unknown
How to punch down a Cat5e/Cat6 keystone jack, step-by-step instructions. I took a bunch of pictures along the way to better explain the process, and to let you see just what it should look like. If you want to see the process of punching down a Cat5e or Cat6 jack on video, scroll to the bottom of this post. To get started, let's take a look at what tools you will need:

Electricians Scissors (regular household scissors will work also)

Wire Stripper (you can use electricians scissors if you don't have any wire strippers)

Punch Down Tool with 110 Blade
 

Punch Down Palm Tool (optional)

Cat5e/Cat6 Keystone Jacks

 Bulk Cat5e/Cat6 Ethernet Cable
 

Now that we have all the tools, let's punch down some keystone jacks.

First, strip off at least 1 inch of jacket on your Cat5e/Cat6 cable. Make sure not to cut into the wires. If you do, you'll need to start over. This picture shows what the two cables look like side by side. The Cat6 cable is larger (bottom) due to the separator between the pairs.

Cut off the ripcord

If you using Cat6 cable, it should have a separator. Cut that off as well. Simply pull the 4 pairs of wire back and cut it off

Now were ready to lace up the wires on the keystone jack. This style of jack is very user friendly and great for beginners or professional installers. You can see 110s are in a single row and that they are pointed, making it easier to lace the wires down

Let's go ahead and wire these keystone jacks following the 568b Wiring Diagram

You can see the keystone jack has the color code for 568A and 568B on the jack. They are very similar, but 568B is most commonly used nowadays.
 

Once all the wires are laid down, your keystone jack should look like this. Notice how I left the pairs of wire twisted. I was able to do this because of the pointed ridges on the jack, making it much easier to set the wires in. Many other styles of jacks out there have a flat surface, requiring you to untwist all 4 pairs of wire down to the jacket. Also notice how the jacket of the cable is right up against the keystone jack. You don't want any more than 1/2" of the wires exposed.

Once you have the wires laced in correctly, set your keystone jack in a jack palm tool. If you don't have one of these available, you can punch the jack down on the ground or a desk, but I suggest putting a piece of cardboard down to prevent the jack from slipping out when you punch them down. I would strongly suggest AGAINST using your hand to punch down jacks without the use of this tool. The jack can slip out and the tool will cut right through your hand. Not a pretty site

Now, take your punch tool and find the side that says "CUT". You want to make sure the tool faces the correct way, or you'll cut the wrong side of the wires off. This is how your tool should look when punching down the jack. Notice the pointy tip on the left side of the 110s

 A close up view of the 110 blade shows this better

Once the punch down tool is positioned correctly, push down firmly until you feel it pop. You should see the wire cut off. If it doesn't, you may need to do it once more. Here you can see I terminated the brown pair

Repeat with the other 3 pairs of wires and you have a completed keystone jack. It will look like this. Note how the jacket is very close to the jack. You want to make sure you keep it as close as possible.

Here is a picture or the WRONG way. The cable jacket is stripped too far back, exposing more than 1/2" of the wires


Lastly, press the clear dust cover on your jack and your DONE

Now let's watch it on video
Read More
Posted in Cabling, IT, Tutorials | No comments
Older Posts Home
Subscribe to: Posts (Atom)

Popular Posts

  • Call of Duty: Ghosts Review
    Developer: Infinity Ward Publisher: Activision Platforms: PC, X360, PS3, PS4, Xbox One Price: £39.99 Reviewing a Call of Duty game is a ...
  • ‘Strata’ for iOS and Android game review
    There are games that are fun. There are games that look great. And then there are games that do both. Strata is one such game that h...
  • Review: Seagate 600 480GB SSD
    Seagate Joins the Fray It’s been quite an interesting turn of events over the past couple years in the storage industry. Whereas practical...
  • Xbox One vs. PS4: How They Stack Up Today
    Two new gaming consoles. Both very powerful. Both very ambitious. Both about to meet head to head... and do battle for your time, money an...
  • iBuypower Chimera 4SE FX Ultimate: AMD Gaming PC
    iBuypower is offering an AMD-based system in its Chimera 4SE line, which is designed to give users serious gaming performance without a wa...
  • The Last Days of the DSLR
    The DLSR is everywhere. You see it around the necks of tourists, against the faces of pro photographers. Since Canon introduced the Digita...
  • Buying Guide: Find the best headphones
    If you’re looking to get more audio enjoyment from your smartphone, tablet, media player, or computer, new headphones will do wonders. And ...
  • CCBoot - LAN Boot Software for Windows
    LAN Boot Solution Background LAN boot is a technology based on IP (Internet Protocol), UDP (User Datagram Protocol), DHCP (Dynamic ...
  • Adobe Photoshop CS6 Extended 13.0 & Plugins + Textures
    Adobe Photoshop CS6 Extended 13.0 & Plugins + Textures | 3.5 GB Adobe Photoshop CS6 Extended software delivers even more imaging magi...
  • Sony Vaio Tap 11 Review
    Introduction Sony's engineering chops are really showing this year, across its phones, tablets and convertibles portfolio. The Vaio Tap ...

Categories

  • Android
  • Apple
  • Audio
  • Blogger
  • C/C++
  • Cabling
  • Cameras
  • Cases
  • CISCO
  • Cooling
  • CPU
  • Desktop
  • DNS
  • Ebook
  • Fiber Optic
  • Gadgets
  • Game
  • Google
  • Graphic Card
  • Hardware
  • HDD
  • HTC
  • HTMLCSS
  • Hyper-V
  • Intel
  • iOS
  • iPad
  • Iphone
  • IT
  • jQuery
  • Laptop
  • Linux
  • Mac
  • MacTut
  • Microsoft
  • Mobile
  • Mouse
  • Networking
  • News
  • Nexus
  • Nokia
  • Nvidia
  • OS
  • PERIPHERALS & COMPONENTS
  • Photoshop
  • Printers
  • Programming
  • Projectors
  • PS4
  • Ram
  • RedHat
  • Review
  • Samsung
  • Scanners
  • Seagate
  • Security
  • Server2008
  • Server2012
  • Servers
  • Smartphone
  • Software
  • Sony
  • Storage
  • Tablets
  • TechNews
  • Template
  • Tutorials
  • TV
  • Ubuntu
  • Voip
  • Webdesign
  • Webiste
  • WebServer
  • Win7
  • Win8
  • Windows Phone
  • Wordpress
  • Workstation
  • XBOX

Blog Archive

  • ▼  2013 (495)
    • ▼  December (35)
      • Smart Power Strip now works with SmartThings WiFi ...
      • The Last Days of the DSLR
      • Nokia Lumia 2520 has arrived, check out our hands-on
      • 2 Million Gmail, Facebook and Twitter Accounts Rep...
      • Fleksy predictive keyboard for Android exits beta,...
      • iPhone Anamorphic Lens Lets You Shoot Wider Than W...
      • Nokia Wins Ban on HTC One Mini in U.K.
      • Finally, USB 3.1 Will Feature Reversible Connectors
      • MSI Launches Small But Mighty Z87I Gaming AC and G...
      • Samsung Galaxy S5 benchmark reveals 2K screen
      • NVIDIA Fan in Bejing Builds a 6ft Replica GeForce ...
      • Are dual-booting phones the future of Android?
      • How to Block Websites in Windows 7/8 in Chrome and...
      • How to Control your Android Mobile from PC or Laptop
      • Resize Image without loosing Quality
      • AllCast for Android pushes media to Apple TV and R...
      • Alcatel Idol X+ to launch with smartwatch and smar...
      • The legend of the HTC HD2 continues; aged device r...
      • Amazon Prime Air drones revealed on 60 Minutes, ai...
      • Samsung to create 20 MP camera sensor for future f...
      • Oppo's swiveling N1 smartphone to be available wor...
      • FileMaker Pro 13 Prematurely Appears on Apple's On...
      • Sony Vaio Tap 11 Review
      • Dell preparing to squeeze 4K resolution onto a 24-...
      • Microsoft releases VideoLoops: A GIF creator tool ...
      • Pebble Smartwatch for Android and iOS Hit Amazon f...
      • 3D Printing Market Forecasted For Explosive Growth...
      • ASUS Transformer Book T100 review: a Windows table...
      • Xbox One's 500GB HDD swapped for bigger, faster dr...
      • U.S. Army Saved $130 Million by Stealing Software
      • Xbox One Scores Big on Black Friday Surpassing PS4...
      • Buying Guide: Find the best headphones
      • Sailfish OS will be available for Android users to...
      • Amazon Cyber Monday Is The Real Deal
      • Nvidia Calls PC "Far Superior" to Video Game Consoles
    • ►  November (332)
    • ►  October (12)
    • ►  September (27)
    • ►  August (2)
    • ►  July (10)
    • ►  June (42)
    • ►  May (35)
Powered by Blogger.

About Me

Unknown
View my complete profile